Learn how to install pot lights
Posted June 6, 2019 by FunnelEdge
Handy homeowners can attempt this DIY project and replace or install recessed light fixtures.
Recessed lighting is commonly referred to as pot lights in Canada. It’s light fixtures that are installed right in the ceiling, with no visible part of the fixture hanging down. While they used to be more popular in commercial settings, or in basements, they are making their way into all rooms in the house.
Pot lights are typically installed in home theatre systems, kitchens, shower enclosures and basements. They provide ample task lighting, without bulky fixtures, and are timeless in style. Some homeowners complain that the directional nature of pot lights can be a challenge. Because the light points in one direction, you need several to illuminate a room.
Recessed lighting can be installed by an avid do-it-yourselfer but should be installed by a licensed electrician. Before attempting to add any electrical fixture to a circuit, you should have an electrician check and ensure that circuit can accommodate more electrical load.
Here are step-by-step instructions for how to install pot lights:
1. Turn off electrical power! You should always turn the power off at the main breaker before doing any electrical work.
2. Remove existing fixture and junction box: You might have to use a saw to cut the junction from the joist. Then open the junction box and unclamp the wires after disconnecting them from the fixture.
3. Measure your new fixture and cut the hole: Some pot light kits come with a cardboard guide that you can trace on the ceiling before cutting your hole. Once you have the outline traced, use a drywall saw or hole cutter on your power drill to cut the hole.
4. Connect the wire: The new fixture will have a junction box. Connect and clamp the wires into it. Then strip the plastic insulator off the ends of the wires and connect them to the matching wires on the fixture with wire nuts. Black on black, white on white and the bare ground wire to the bare wire.
5. Run a test: Turn on the power and use a voltage tester to see if electricity is getting to the bulb socket. If it works, turn the break back off and continue.
6. Put in the pot light housing: Most recessed light fixtures have clips on the housing that will clamp it to the ceiling. Pull out the clips, then put it in the cut hole until it’s flush with the ceiling. Then push the clips in to secure the housing.
7. Secure the baffle and trim: In a pot light clip, the baffle and trim will come with either spring coils or rod coils to help secure it to the housing. Attach the housing to the springs and slide the baffle up, then the trim until it’s flush with the ceiling. See manufacturer instructions for details.
8. Put in the light bulb. Flick the breaker back on and test it with a light bulb. Make sure you use a bulb with the appropriate wattage for the fixture.
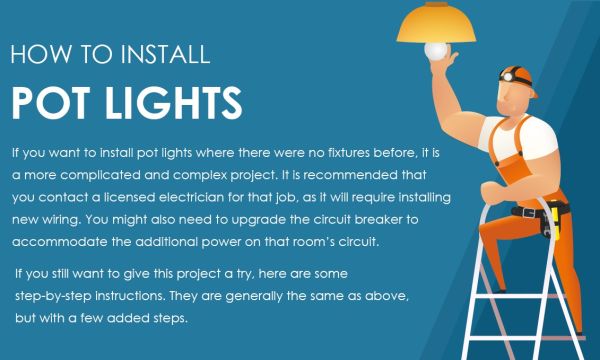
To install a pot light where there was no light before is a more complicated process. You’ll have measure and cut new holes into the ceiling. You’ll also have to run wiring from the power source to a switch box and then to each fixture hole. This can be difficult when you’re working with a finished ceiling. In this case, it is recommended that homeowners contact a licensed electrician to do the job safely and correctly.
____________________________________________________________________________________
Find a RenovationFind Certified electrician in your city!

| Contact Email | [email protected] |
| Issued By | Keith Riley |
| Website | Renovation Companies |
| Phone | 7802184541 |
| Business Address | #201, 11037 9 Avenue NW |
| Country | Canada |
| Categories | Advertising |
| Last Updated | June 6, 2019 |


